

I have been making my own PCBs (Printed Circuit Boards) for some time now. First, I had to create the schematic using software like EagleCad or KiCad. Most of my work has been done in EagleCad, though KiCad is free. Then from the schematic I go to creating the board layout. Dell-Ray got me stated in using this software, and thought me the basics. If there is any interest, I might be willing to make some youtube videos on EagleCad or anything else I am covering here. Well after I design the circuit and its board layout the next task is to get that design onto a board. Here I will talk a little on my journey through making circuit board. Starting off with chemical etching, then why I moved onto using a CNC router. Last, some of the pitfall to doing it your self.
Chemical Etching with Iron on transfers – How do you get the design onto a board yourself? Well, I had first started off with iron on traces. This is where you pint the board layout onto a specialized transfer paper. People have tried different products, but I found that it is best to use the transfer paper that is design for it. When I tried other methods/materials sometimes they would leave a residue onto the board that prevented the chemical etching from working correctly.
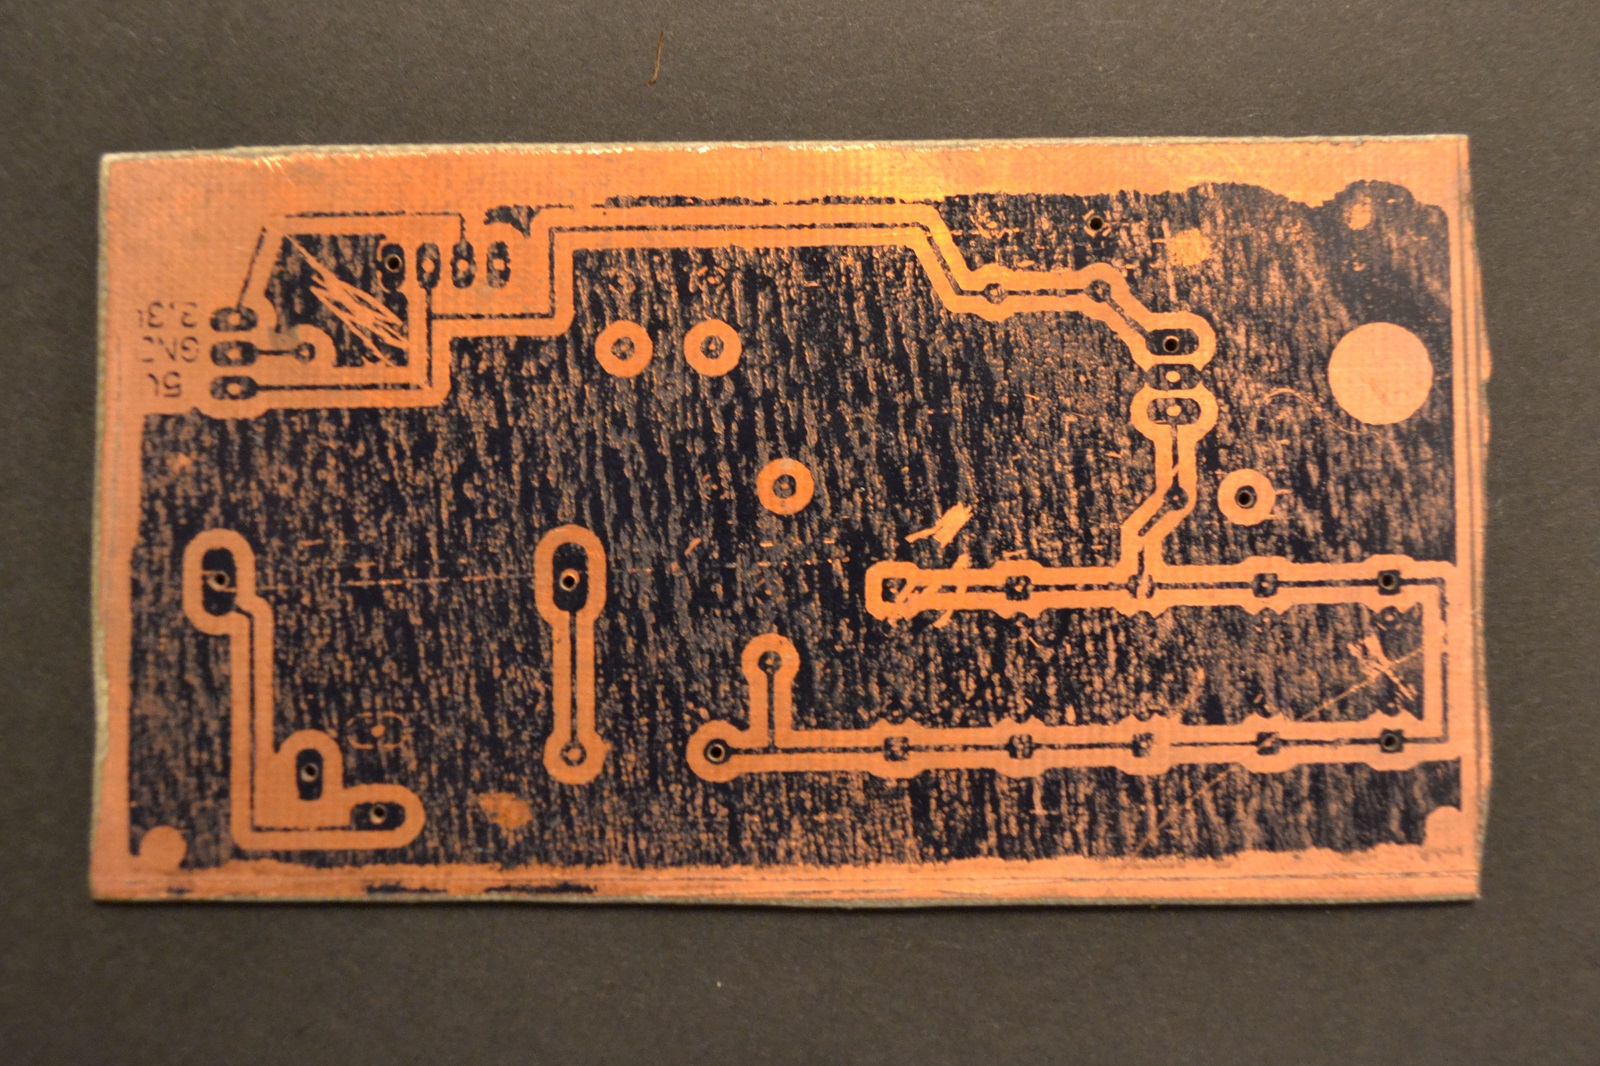
When you print the traces onto the board you have to use a laser printer, because unlike your everyday home printer that uses a water based dye, the laser printer uses wax. Then you line up the transfer paper onto the board, wax side onto the board! This can be hard if you are doing a double sided circuit. I would recommend doing some simple circuits first, that are one sided. Once everything is lined up, you might want to tape it down. Then take out an old iron, just to be safe don’t you mom’s or wife’s, iron the pattern onto the board. This will take a good 2-5 minutes. I usually used a layer of butcher block paper in between the iron and the PCB transfer paper. This will take some practice. Then you will need to let it cool, under cold water is a good way. Once it is nice and cold, you can carefully start at one end peal it off. Inspect the traces (black wax left behind) for any brakes… if you have any you will need to touch up with a marker. Anywhere there is ink/wax the board will be protected from the chemicals. The chemical bath will take about 30 minutes to eat away the copper that is not protected and leave behind traces. Oh, before I go any further, you will need to etch in a glass or plastic container. What I used was a water tight Tupperware container that could be sealed up when not in use. Next you will need to clean up the board using some isopropyl alcohol or acetone nail polish remover and a steel wool pad. If you thought you were done, you were wrong. Now, you need to drill holes for you through hole components. I bought a drill press for my dremel, you will break bits if you don’t. Look around on YouTube there are some good videos for this.

As you can tell from the chemical etching this was a long process and it dealt with chemicals that I would have to find a safe way to dispose of. 🙁 That is what led me to using a CNC router. Though, if I were to do this again, I would buy a CNC kit out right, rather than building my own. Now, that I know enough about CNCs to get my self in trouble, I like building and upgrading.

CNC Router for PCB Etching – With this method you still design the board as usual, but once you are done you run a program called PCB Gcode Wizard. This software creates gcode that your CNC needs to etch the PCB’s traces and drill the holes. Once you fave the gcode file and transfer it to your CNC you can run it. I usually can do a board within an hour, though it depends on size of board, amount of traces/holes, and if it is one or two sided. The CNC moves a router, dremel, or some other type of spindle. This does create dust, so it is best to have your CNC inside an enclosure. I would rather deal with the dust rather than the chemicals. This is obviously the more expensive route. Though, you can get a CNC for a few hundred dollars.
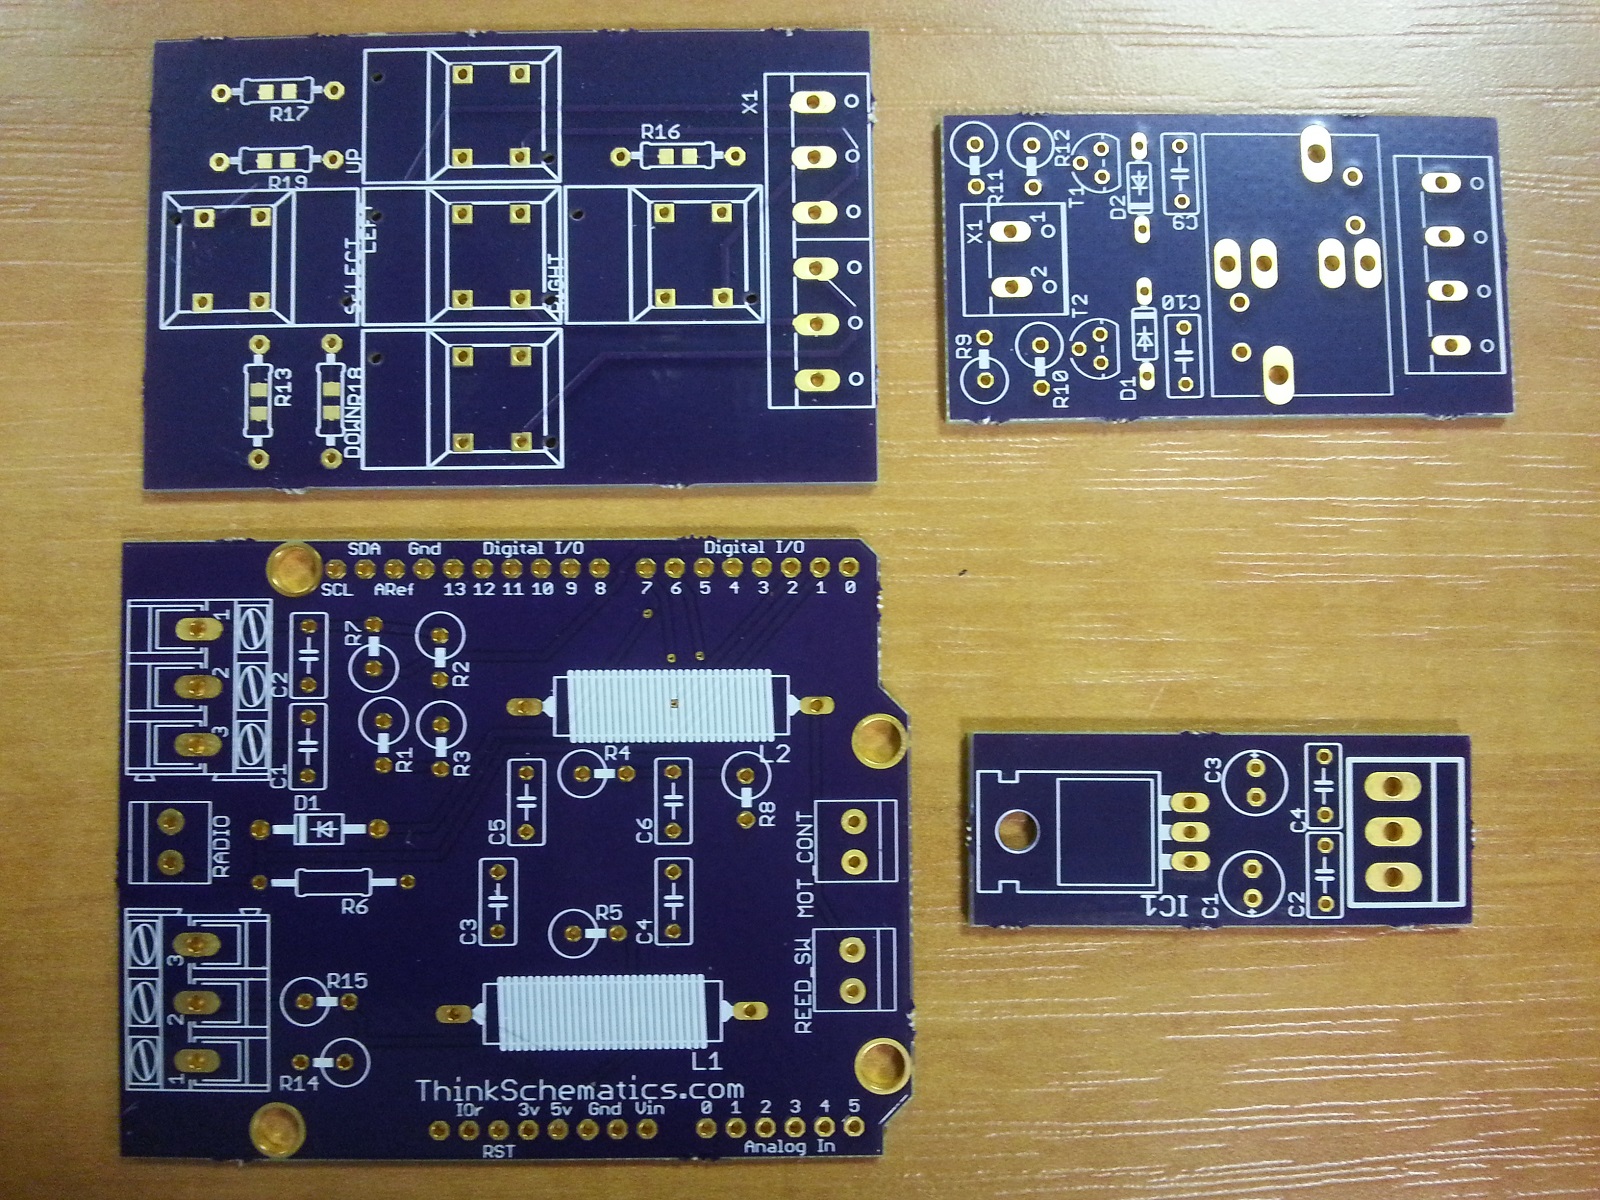 Board house – Why not just use a board house? Well board houses can cost a lot of money. If your design is flawed, then you just wasted all the time it took to get the board in the mail and find out it was flawed. Why not make your prototype your self, test it, then when you know it is good and if you need it, then send it off to a board house. I have not used this PCB service before, but I hear a lot of good reviews on it OSH Park.
Design rules – It does not matter if you are making your own board or using a board house, you will need to use design rules. These are rules in your PCB software. For example some board houses will not allow through holes under a certain size, and traces have to be over a certain size. If you make your own board, you will be limited on how well you can do the iron transfers or how accurate your CNC is. You will need to make your own design rules. It is best to do some research and trial and error. Look at what is common for trace and drill/trough hole sizes. Do up a circuit and see what your system can do. You might find that your machine accurate enough to do smaller traces or holes, but it either looks sloppy, bits break easier, or it takes longer.
Oh, so there are some hard part, but not impossible when it comes to making your own boards. My biggest obstacle is plating though holes and vias — here is a youtube guide I found for through hole plating I found. Second would be silkscreen, here is a how too video that doesn’t look bad for making silkscreens. Last being the solder mask.
Well that is it for now. I will try to find some photos of my old projects, so you can see what hard times I went through learning this stuff. If you have any questions please post them. If you wound like me to do a tutorial on any particular part or make a youtube let me know. I can’t promise anything, but I would rather do something that would be viewed by others than something I thought people could use.